In this quick tutorial I would like to share a method to get two public IP addresses on a single Amazon EC2 instance for FREE (i.e. without paying extra for that second IP). This is useful if you run multiple SSL sites on an instance, for example. The method works in EC2 VPC (not EC2 Classic), with on-demand or spot instances.

Basically, the first public IP will be auto-assigned at instance launch. After that, we create a secondary private IP and then associate an Elastic IP with it. This IP is free for the running instance according to EC2 pricing.
Here are the detailed steps:
Step 1: Create a new VPC instance in the AWS console. At "Step 3: Configure Instance Details", select a VPC and subnet. Take note of the subnet size (e.g. /24). Next, enable the option "Auto-assign Public IP". Proceed with other options. When configuring the EC2 security group, allow SSH (port 22), ICMP Echo Request, and other ports as needed. Finally, launch your new instance.

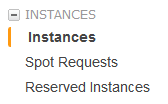
Step 2: Confirm that your new instance has finished launching by navigating to "Instances" from the menu on left. You should see a green checkmark with "2/2 checks passed". Take note of the assigned public IP.

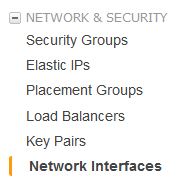
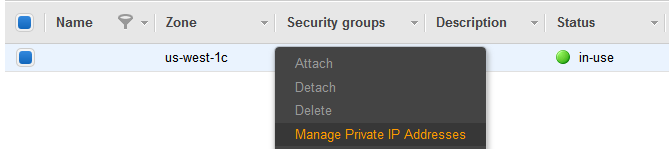
Step 3: Now navigate to "Network Interfaces" from the menu. Right-click on your new instance and select "Manage Private IP Addresses".
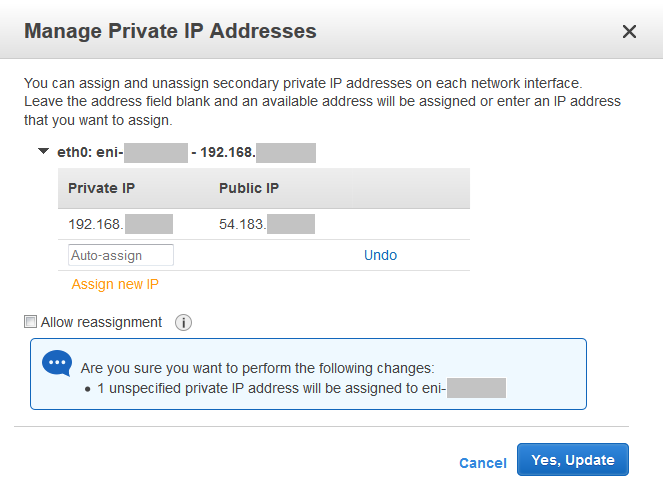
Step 4: Click on "Assign new IP" in the popup window. A new line should appear with "Auto-assign" shown in the box. Now click on "Yes, Update". Take note of the assigned private IP on the new line, e.g. 192.168.x.y.
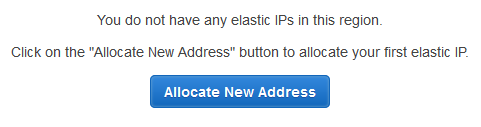
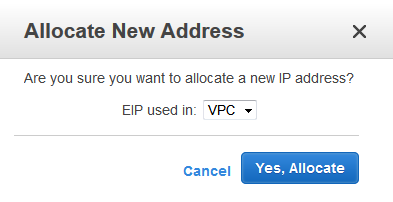
Step 5: Allocate an Elastic IP for attaching to the secondary private IP. Go to "Elastic IPs" from the menu, then click on "Allocate New Address". In the popup window, choose "VPC". Then confirm with "Yes, Allocate". Take note of the assigned Elastic IP.
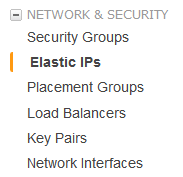
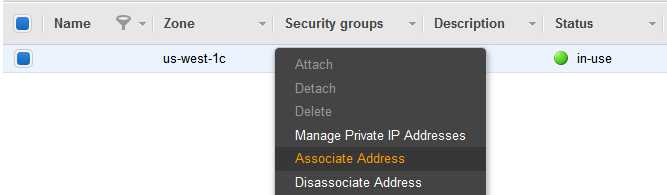
Step 6: Navigate to "Network Interfaces" from the menu on left. Right-click on your new instance and select "Associate Address".
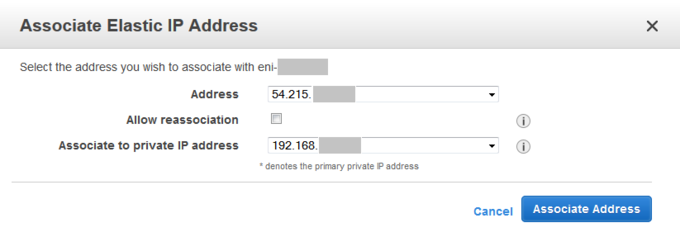
Step 7: In the "Associate Elastic IP Address" popup window, select the Elastic IP and secondary private IP you noted in Step 5 and Step 4, respectively. Confirm with "Associate Address".
Step 8: Now SSH into the instance using the auto-assigned public IP you noted in Step 2. Run command:
sudo ip addr add dev eth0 192.168.x.y/24
On the line above, replace 192.168.x.y with the private IP you noted in Step 4, and replace "/24" with the subnet size you noted in Step 1. You may want to add this line to your /etc/rc.local, so that the second IP is automatically enabled on reboot.
Now you can ping the second public IP (i.e. the Elastic IP allocated in Step 5) from your local computer to test it, and optionally run sudo tcpdump -n icmp on the EC2 instance to observe the ping packets.
Congratulations! You have completed all the steps to set up two public IPs for your new EC2 instance.
Note: The "auto-assigned" public IP at instance launch is NOT reserved to your account, and will be released at instance stop/termination. Also, before restarting a stopped instance, you must dis-associate that Elastic IP in order to get a new auto-assigned public IP. You may re-associate it after the instance finishes starting.
Please share this post if you like it, and do not hesitate to write your comments or questions in the Disqus form below.
Next article: Optimizing Nginx Config for Your Website
Previous article: Securing Your Server using IPSet and Dynamic Blocklists
Return to Lin's Tech Blog Homepage